



Article: How to Grow Sweet Peas From Seed

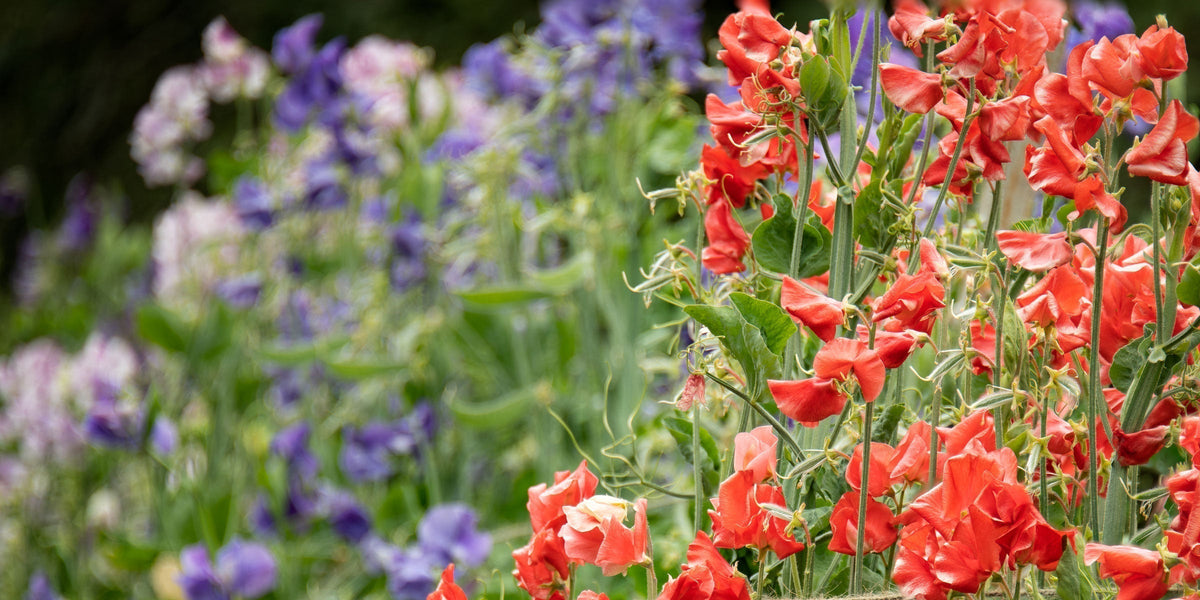
How to Grow Sweet Peas From Seed
Growing sweet peas from seed is relatively easy, and a little attention at the beginning of the season can reward you with armfuls of beautifully scented flowers for cutting, or a wonderful wall of color and fragrance in the garden.
Sweet peas prefer cool growing conditions, so one of the most important parts of growing them successfully is starting them at the right time. The aim is to give the plants plenty of time to develop strong roots before hot weather arrives.
When to Start Sweet Pea Seeds
The best time to sow sweet peas depends on your climate.
In colder areas, sweet peas are usually started indoors several weeks before the last spring frost. In milder climates they can be started earlier, and in areas with mild winters they may also be sown in autumn and overwintered.
As a general guide:
- Zones 3-6: Start sweet peas approximately 10-12 weeks before your average last spring frost.
- Zones 7-8: Start approximately 8-10 weeks before your last frost. Autumn sowing may also be possible in suitable conditions.
- Zones 9-10: Sweet peas are generally best started from late autumn through mid-winter so that they can grow during the coolest part of the year.
You can find your average last frost date here and your USDA growing zone here.
Or, for advice based on your location, sign up to receive my Sweet Pea Seed Starting Planner.
My advice is to try growing sweet peas this year, and then grow them again next year, and all the years after. They are addictive! You will quickly learn the timing and growing method that works best in your own garden and climate.
How to Grow Sweet Peas from Seed
What You Will Need
Sweet pea seeds
Fresh potting mix
Rootrainers
Room-temperature water
Small nail clippers or a fine file
Pencil
Plant labels
Well-rotted manure or compost
Trellis or another sturdy support
Step 1: Soak Your Sweet Pea Seeds
Before sowing, place your sweet pea seeds in room-temperature water and leave them to soak for approximately 12 hours.
Many of the seeds will noticeably swell as they absorb water. Remove them from the water after 12 hours rather than continuing to soak them.
If any seeds are still small, hard and unchanged after soaking, their outer seed coat has probably prevented water from entering.
Step 2: Nick Any Seeds That Have Not Swollen
Take any seeds that have not swollen and carefully nick or file through the tough outer seed coat. Make the nick on the side opposite the hilum, which is the small scar where the seed was attached to the pod.
You only need to break through the outer coat. Avoid cutting deeply into the seed itself and avoid damaging the hilum.
This small opening allows water to reach the inside of the seed and can make a considerable difference with particularly hard-coated sweet pea seeds.
Step 3: Fill Your Rootrainers
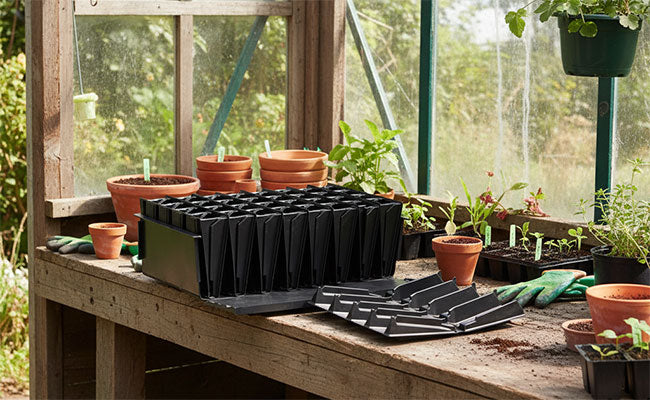
I use Rootrainers for starting sweet peas because their deep cells give the plants plenty of room to develop the long root system that sweet peas naturally produce.
Moisten your potting mix before filling the Rootrainers. I find it easiest to put the potting mix into a bucket, add water and mix thoroughly before filling the cells.
The potting mix should feel like a wrung-out sponge. Moist, but not dripping wet.
Fill each Rootrainer cell and press the mix down lightly. Do not compact it heavily.
Step 4: Sow the Seeds
- Use a pencil or your finger to make a small planting hole in each Rootrainer cell.
- Place one sweet pea seed into each cell.
- Cover the seed with approximately 1/2 inch of potting mix.
- Add a plant label so you know which variety you have sown.
- Gently settle the surface of the potting mix.
Step 5: Let the Seeds Germinate
Place the Rootrainers somewhere cool and protected while the seeds germinate. Sweet peas do not need tropical temperatures to germinate, and excessively warm conditions can cause problems.
Keep the potting mix moist but never waterlogged. Because you started with thoroughly moistened potting mix, you may not need to water again before the first seedlings appear.
You will usually see the first shoots within about two weeks, although some varieties and individual seeds may take a little longer.
Avoid repeatedly watering seeds simply because they have not yet appeared. Cold, saturated potting mix is one of the easiest ways to lose sweet pea seeds to rot.
Step 6: Give Seedlings Plenty of Light
As soon as the first green shoots appear, move the Rootrainers to a bright, cool location.
An unheated greenhouse or cold frame can work very well, depending on your climate and temperatures. The goal is to produce compact, sturdy seedlings rather than soft, rapidly growing plants.
Sweet pea seedlings are surprisingly tolerant of cool weather, but plants that have been grown indoors should still be gradually acclimated to outdoor conditions before being planted in the garden.
Step 7: Plant Your Sweet Peas Outside
When the seedlings are established and conditions are suitable for your area, they can be planted into their final position.
Choose a location with:
- Plenty of sunlight
- Good drainage
- Protection from very strong winds
- A sturdy trellis, fence or other support for the vines
Prepare the planting area by incorporating well-rotted manure or compost into the soil.
One of the advantages of Rootrainers is that the cells open, allowing you to remove the plant with very little disturbance to its root system. Carefully remove each plant and set it into the soil at the base of its support.
Water thoroughly after planting.
Step 8: Protect Young Plants
Young sweet pea plants can be particularly attractive to slugs, snails and birds, so keep an eye on newly planted seedlings.
Protect them where necessary until they are established and growing strongly.
Step 9: Support the Vines
As your sweet peas begin to climb, you may need to guide them toward their support.
Use soft garden twine to loosely tie the vines to the trellis until their tendrils begin holding onto the support themselves.
Step 10: Keep Cutting the Flowers
Once your sweet peas begin blooming, pick them regularly.
Do not allow lots of flowers to fade and form seed pods if your goal is a long season of flowers. Producing seed tells the plant that it has completed its job.
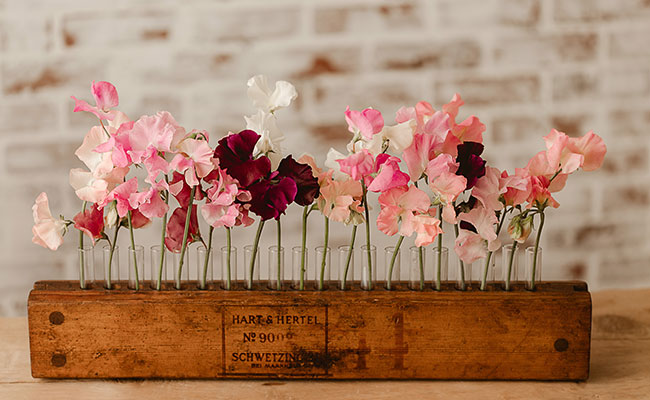
Regular picking encourages the plants to continue producing new blooms, and gives you the perfect excuse to keep filling the house with sweet peas.
Why I Use Rootrainers for Sweet Peas
Sweet peas naturally make long roots, which is why I prefer to start them in deep Rootrainers.
The deep cells give the roots room to develop without becoming crowded, and the hinged cells open when it is time to transplant. This makes it much easier to remove the plant without disturbing its root system.
What If a Sweet Pea Seed Still Doesn't Germinate?
If an occasional seed has not appeared while the others are growing, give it a little more time.
If you soaked the seed before planting and nicked any seeds that remained hard, there is usually no need to dig seeds up immediately. Germination is not always perfectly synchronized, even within the same variety.
Keep the potting mix lightly moist rather than wet and allow slower seeds a little more time to emerge.
2 comments
Hi
May I grow sweet peas in pot rather than in the ground ?
Jill Frazier
I live in zone 6b, which can have very cold winters and a lot of snow. Can I still plant seeds in the fall?
Thank you
Debboe
Leave a comment
This site is protected by hCaptcha and the hCaptcha Privacy Policy and Terms of Service apply.